 USD
USD TZS
TZS UGX
UGX ZAR
ZARAn Addon Domain allows you to host multiple websites under a single cPanel account. Each addon domain works as a separate website with its own folder.
Example:
-
Main domain:
example.com -
Addon domain:
example2.com
Step 1: Log In to cPanel
Open:
Log in using your cPanel username and password.
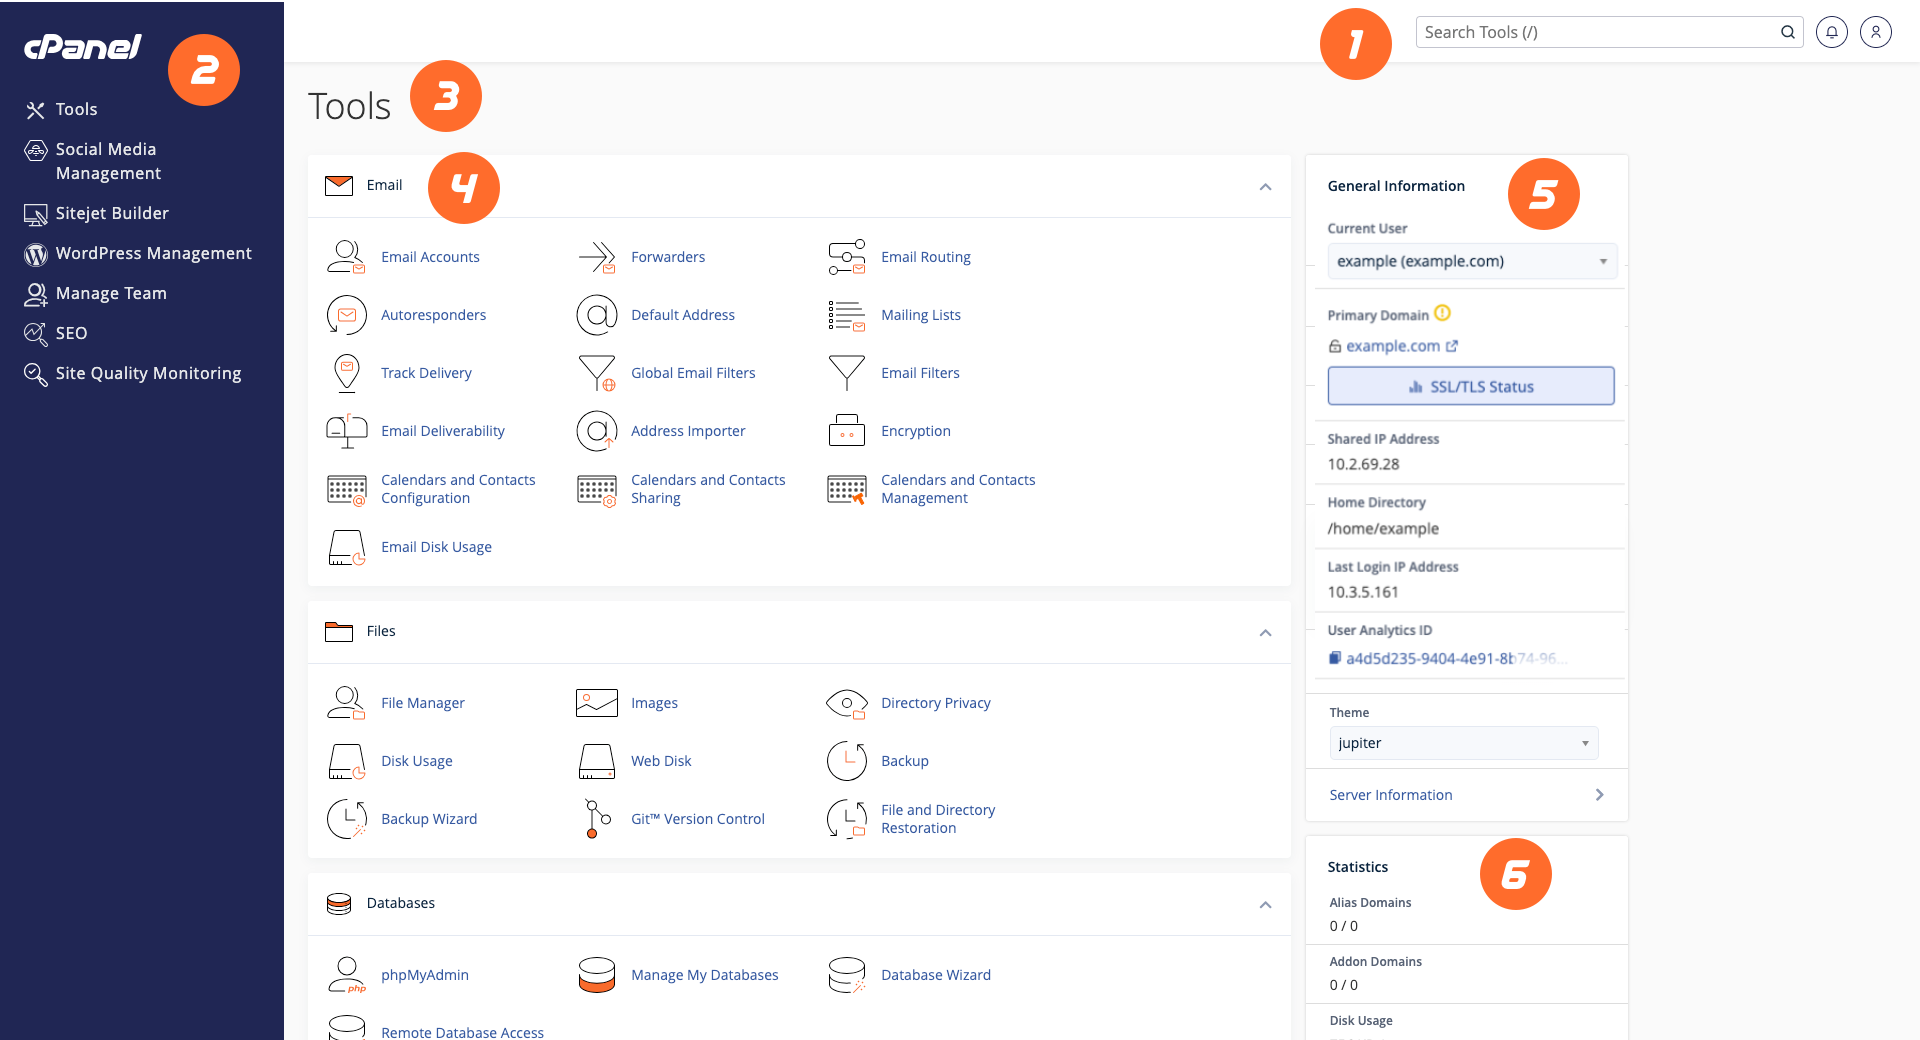
Step 2: Open Addon Domains


-
In cPanel, go to Domains → Addon Domains
-
Click Create Addon Domain (or Add Domain on newer cPanel versions)
Step 3: Add the Addon Domain
Fill in the required fields:
-
New Domain Name
Example:example2.com -
Subdomain
Automatically generated (do not change unless needed) -
Document Root
Auto-filled (recommended)
Example: -
Create FTP Account (Optional)
✔ Check this if you want separate FTP access
Click Submit / Create.
Step 4: Upload Website Files
-
Open File Manager
-
Navigate to:
-
Upload your website files
-
Ensure you have:
Step 5: Point Domain Nameservers
If the domain was purchased elsewhere:
-
Log in to your domain registrar
-
Update nameservers to your hosting provider’s nameservers
-
Allow up to 24 hours for DNS propagation
Step 6: Enable SSL (AutoSSL)
-
Go to Security → SSL/TLS Status
-
Ensure the addon domain shows a green lock (????)
AutoSSL is usually enabled automatically.
Common Issues & Fixes
Addon Domain Not Loading
-
Confirm nameservers are correct
-
Wait for DNS propagation
-
Ensure files are uploaded to the correct folder
Error: “Addon Domain Limit Reached”
-
Upgrade your hosting plan
-
Remove unused addon domains
Website Shows cPanel Default Page
-
Remove default
index.html -
Upload your own index file
Important Notes
-
Each addon domain has its own folder
-
Uses shared resources from the main hosting account
-
Can have separate email accounts (e.g.
[email protected])
Conclusion
Adding an addon domain in cPanel is quick and allows you to host multiple websites under one account. Just add the domain, upload files to the correct directory, and ensure DNS is properly configured.
